Sunday, September 25, 2022

A great luminary card as a mantle piece


Using the rustic harvest designer paper and the pretty pumpkin bundle one can easily make this great tea light piece.  It’s more than just a card. It just warms up the area once that tea light shines inside.  It uses an 11 by 41/4 cardstock and a 4 by 10 3/4 of designer paper. Scoring is for card base 6 1/2 and 2 3/4 for the designer paper 2 11/16 and 5 3/8. Both end up as Z fold pieces. Check out my YouTube directions here https://youtu.be/tnOPs3hR2as


Luminary- tea light market/ centerpiece card


Wednesday, September 14, 2022

#3 of 10 weeks of Fall alternate Z fold card


A great card for 6 by 6 designer paper- it uses a sheet and a 1/3 with little waste  

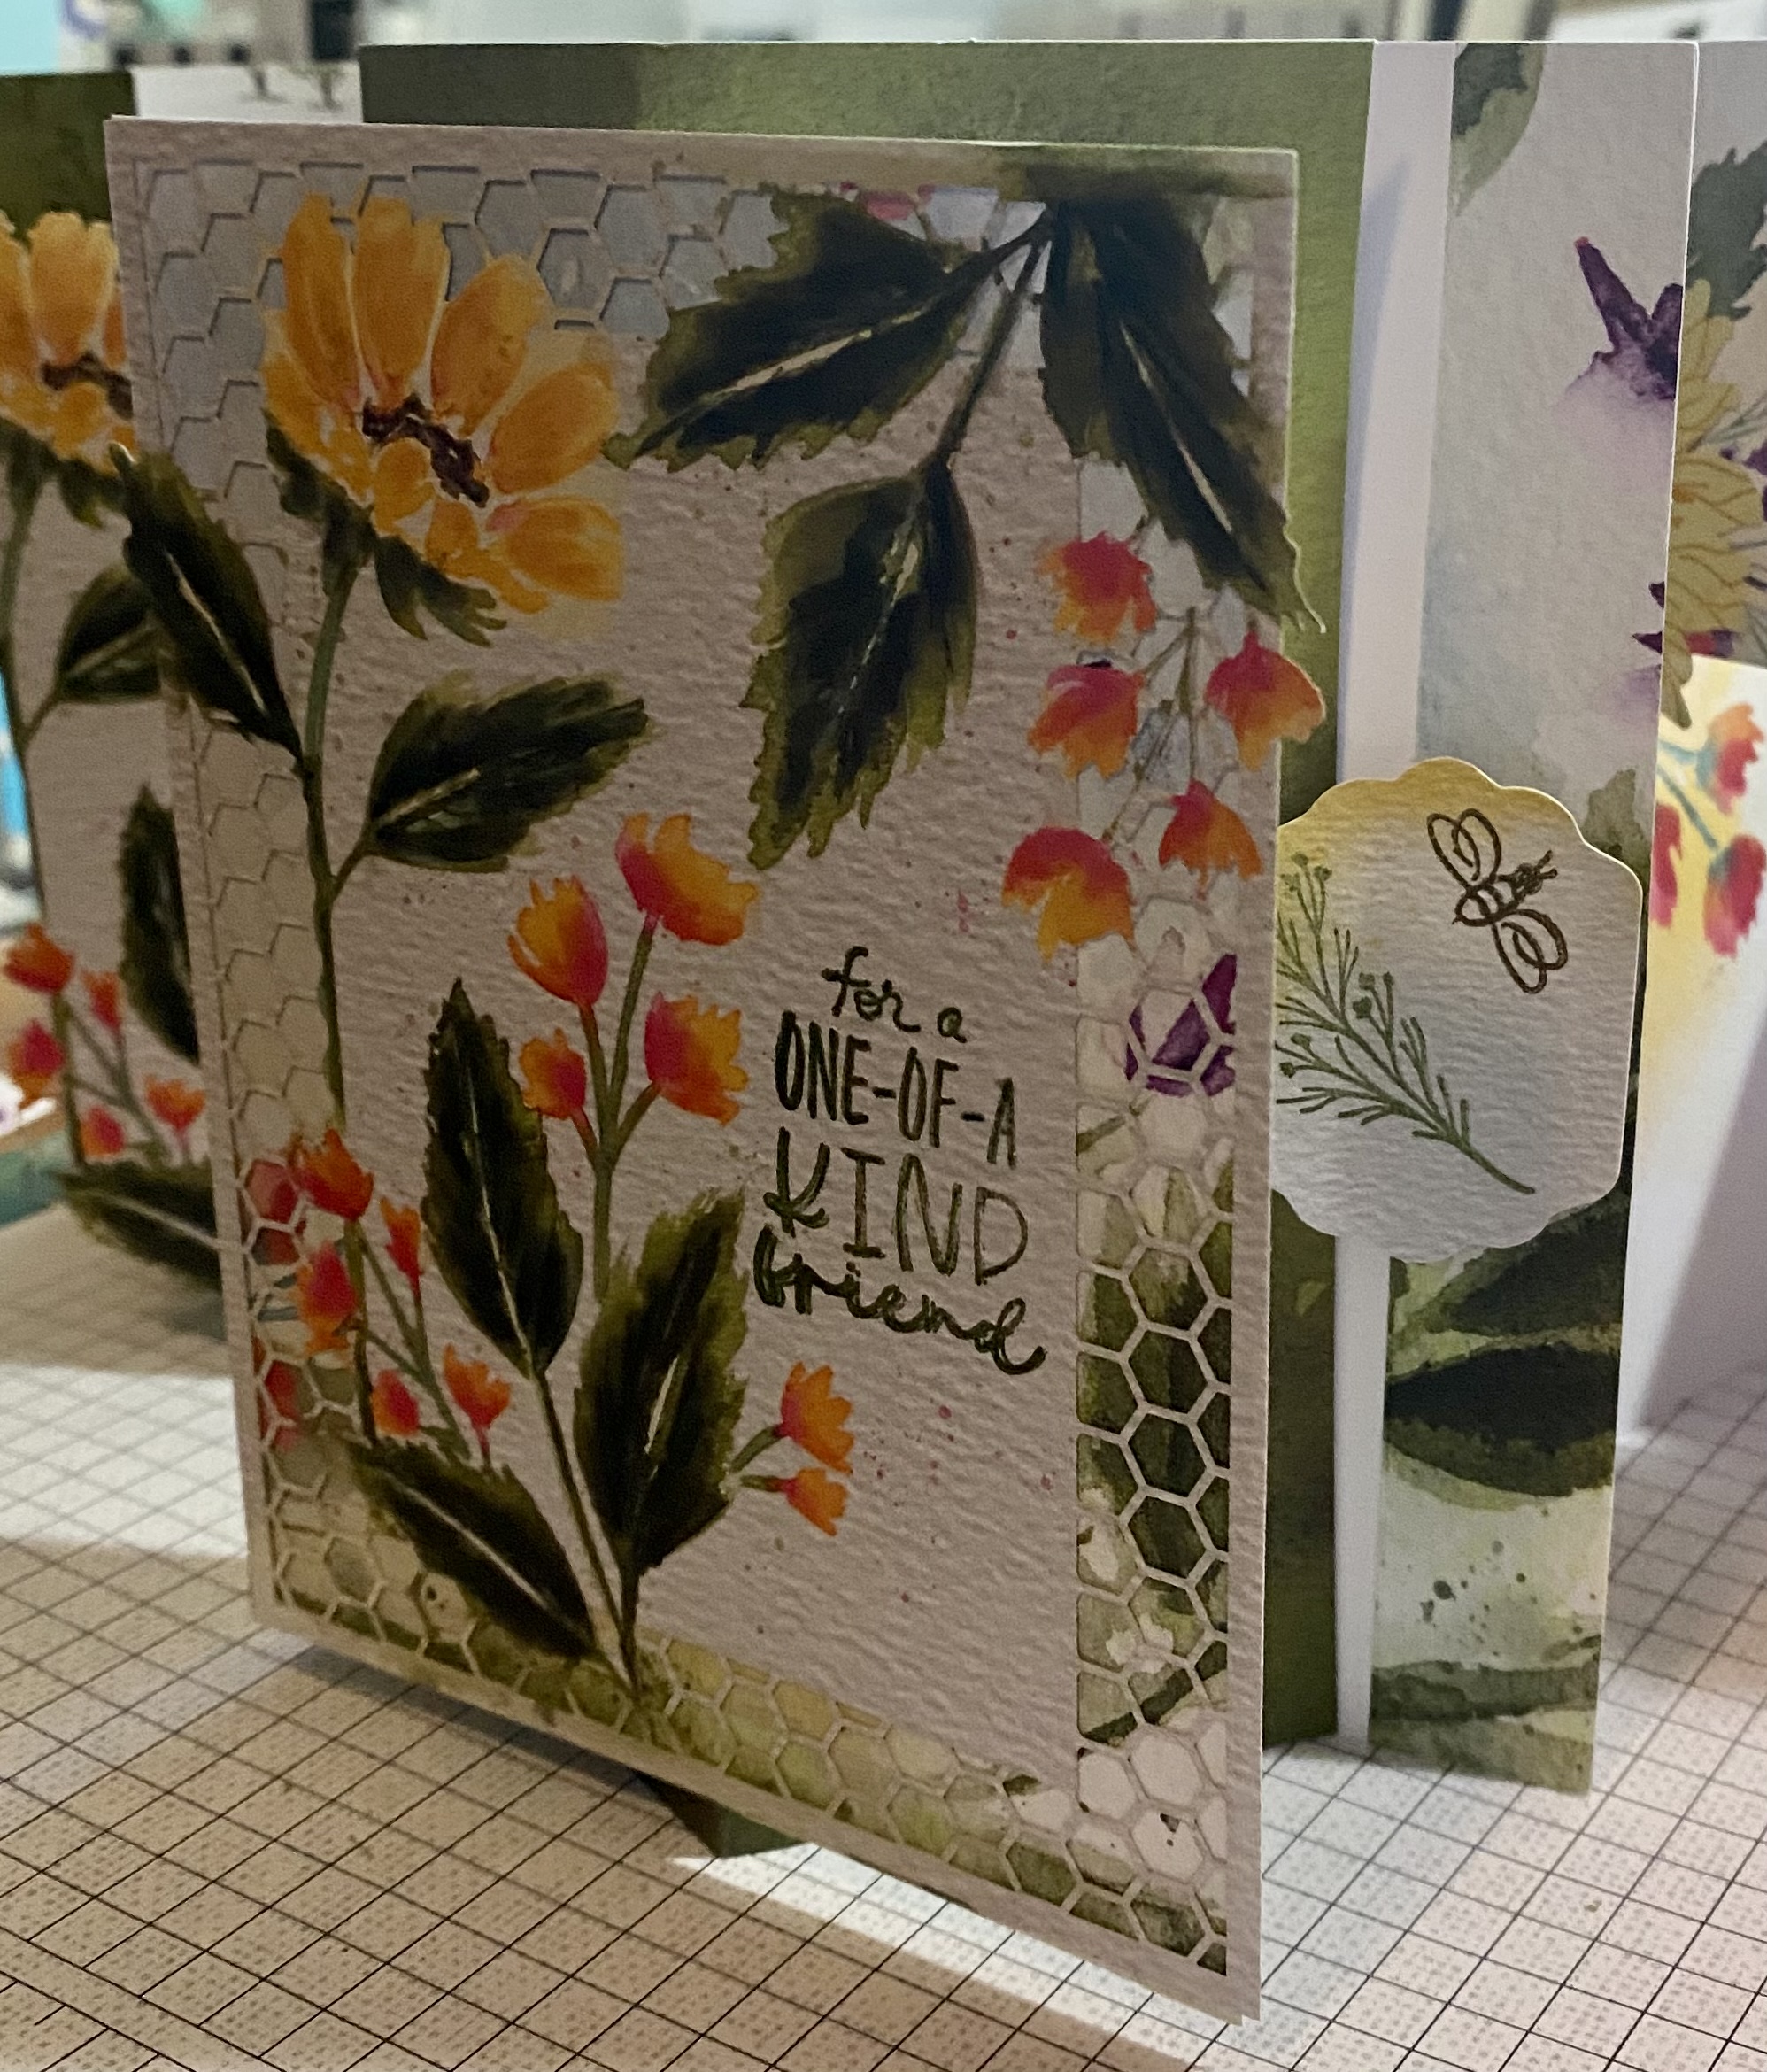
We started with the paper pumpkin august 2022 kit then went to a luminary and now a fun style for the Z fold card. I do discuss some of the items to be aware of producing this card in my video here https://youtu.be/FrreGTmaQrE I make some extra comments on the dimensions  viewed to hopefully ensure success.. the first photo depicts the card the second shows materials and most measurements 

List of materials : 81/2 by 51/2 cardstock- 2 pieces of 6 by 6 dsp  only 1/3 of the second will be used - stamps, punches and dies . I used the scary silhouette dies, witches hat builder punch and a small Happy Halloween stamp and ghost from discontinued items  

Dimensions DSP  3 pieces from 6 by 6 first cut a piece that is 6 by 5 1/4 then cut out center by placing the short side against the top of your cutting board start at 1”from the top and 1”in from the side cut down to 51/4 then flip and do the exact same thing to the opposite side  next you will cut the short sides by cutting from the one inch side down 1 “ to 4 1/4 flip to the bottom and now go over by 3/4 of an inch and down an inch to 41/4. Your center is free to cut the frame and the left small piece  the frame is 2 7/8 by 2 7/8 and the strip should be 1 by 2/78  vs a 1 by 3 as seen in the video  the three isn’t bad but 2 7/8 is better .  Using the second piece of dsp cut a 1 7/8 by 5 1/4  

Cardstock scoring  :  Long side up against the top and score each of these from 1 1/4 to 4 1/4  start with 7 1/4 next 6 and 3- next score at 2 1/8 thru the entire card - next are the two 4 1/4 scores that simply score from top to 1 1/4 and from bottom up  to 4 1/4  .  Cutting the cardstock : Place cardstock to short side and go to go to the end that does not have the 21/8 score line. Now go in and down 1 1/4 inches and cut down to 5 1/2 - cut both sides exactly the same  


A different kind of Z fold. #3 of 10 weeks of fall


Good way to use your 6 by 6 designer paper

Saturday, September 10, 2022

#2 of 10 weeks of Fall. Luminary

 This luminary / lantern like votive works quite well. In my photo you will see directions and materials. Great for table setting mantles night lights and more.  For directions on using cardstock and 11 inch vs 11 1/4 inch go to YouTube and see directions. Click on downward arrow at right. Watch video for more details. https://youtu.be/4N3HJwh1cOM

Luminary 


Directions for luminary 

Tuesday, August 30, 2022

#1 of 10 weeks of fall. August Paper Pumpkin fancy folds.

 Here are a few fancy folds. I will link you to my FB page and my YouTube.  To see the latest weekly card(s) check FB here https://www.facebook.com/itisallfun or go directly to video on YouTube https://youtu.be/GYsU0a_NUg4


Alternate August 2022 paper pumpkin

This card is a floating front card.  In the video during my live- I did not use the same color of cardstock for the pop up mechanism- you really should use same color. I did color it in with a write marker and it worked perfectly  


Tuesday, August 23, 2022

August 2022 alternate Paper Pumpkin cards

 Here is where you can find the directions to these cards. One is pinned to the top of my page the other is here. https://fb.watch/f4RzdTpy4N/


Sunday, August 21, 2022

August Blog Hop -Sunshine SU Demos


Yea 
This style of card I learned is from Candice Ford.  It is a fun and easy card.. See  video https://youtu.be/-prjDehEdRs for more details on materials. I was surprised by how easy the glitter paper is to stamp included is a bonus on how to die cut the pieces of the Yeti to Party. Scroll all the way down to the other blogs - start with the first one and move on from there 

 The  Yeti to Party  Bundle was used to make my card. 
Dimensions/ Materials  
           Card stock Base : 4 1/4 by 81/2 scored at 41/4. 
           Card stock White 4 by 4 inside & for label (small)
           Card stock for Topper:  no larger than 31/2 by 2 3/4 
           DSP:  4 by 4  and  3/ 4 by 4 or ribbon to wrap   
            around - either are for bottom to place label and dies  
            Small punch or die for bottom label 
            Die cut pieces to place over ribbon or dsp strip 
            Card stock white or light color : Die cut or punch.                     
            Medium size 3 by 31/2 for top 

      Here is what will be used : 


      Here is the bundle and how One can stamp and die cut 


Here are the rest of the sites: 

Tuesday, August 9, 2022

Yeti to Party fancy folds- 5 cards

     In the video, https://youtu.be/SxSmB1Li8S0 ,  I did not add white cardstock to the inside. Please make sure to add before adding top tent.
Also, make sure that it is complete with anything you want to stamp on the inside. You can always visit my FB page Renee's Paper Crafts Business to see more on the Yeti stamp set and the soon to come dies. the card fits perfectly in a standard US envelope without any trouble. See video below for this card


Starting in September you may purchase this bundle. 


Earth and Elegance suite fancy folds

 I really enjoyed making these cards I feel the style of this fancy fold is perfect for this designer paper and suite.   Here is the video l...