
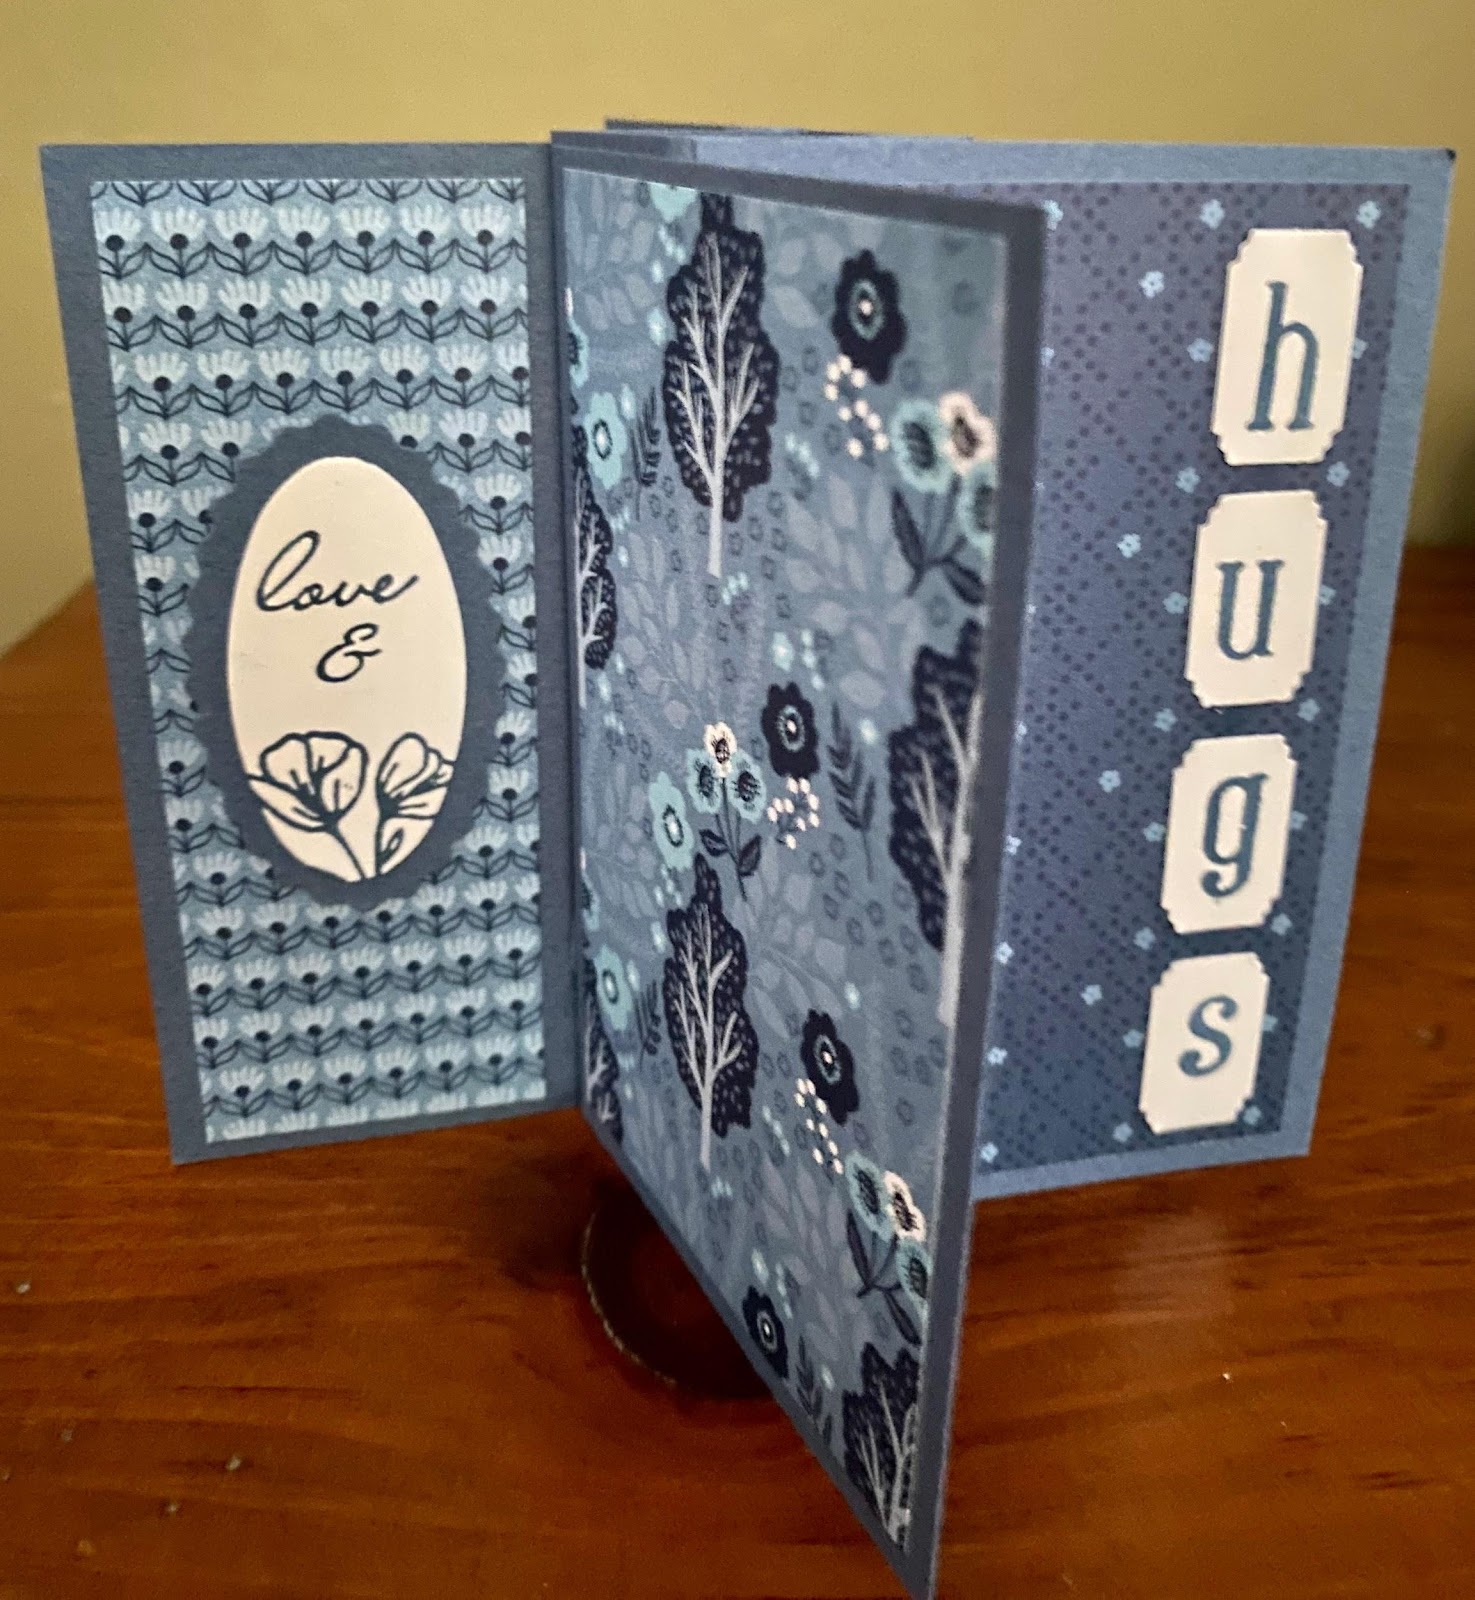
I really enjoyed making these cards I feel the style of this fancy fold is perfect for this designer paper and suite.
Here is the video link https://youtu.be/WcU8_KGxDvo and here are two cards that were made


I really enjoyed making these cards I feel the style of this fancy fold is perfect for this designer paper and suite.
Here is the video link https://youtu.be/WcU8_KGxDvo and here are two cards that were made

Directions :
Score white cardstock at 3 ⅛ inches- this is the card. Larger circle will be glued centrally at a ½ inch from the top onto the front of this card- Glue the strip of DSP to the bottom and above it stamp your sentiment . Glue white card to center of the colored cardstock piece after adhering the 4 by 5 ¼ DSP to the front. Now fold the 5 by 5 DSP in half twice and cut one of the squares off.have the cut off piece at the bottom right and fold left square up and left over single flap - you now have a much smaller square/ turn it over and fold down front flap into a triangle. Glue back parts together. The upper right corner of bookmark should be able to go over the front of the card. Place a small circle with a die cut image onto the front of the triangular piece.
May 5 th & 6th, 2023
By: Renee Ewart
Center Push /Pop Through Card :
Colored Base Cardstock (CSB) 5 ½ x 8 ½ & 3 ½ x 4 ¼
White cardstock (CSW) 3 ¼ x 4 & strip 4 x 1 , extra scrap for fussy cutting
Designer Paper (DSP) optional- 3 ¼ x 4, 2(½ x 5 ½ ). 2 to 4 ( 1 ¼ )
Scoring of CSB : 81/2 by 5 ½ - long side: @ ¾, 2 ⅛, 4 ¼, 5 ⅝, 6 ⅛ and 7 ¾.
Slit : cut from 1” to 4 ½ at 4 ¼ scoreline. To cut the slit you will need to slide the folded card through the cutter at a 1/16 of an inch or less.
Folding CSB: all will be mountain folds and represent the front of the card.
List of tools: A stamping Bundle, cardstock, designer paper, ink pads, snips, adhesives and cutting and scoring tool. *You are ready to assemble : if you need help you may contact me through my Facebook page: https://www.facebook.com/Renees-Paper-Crafts- OR- Directions on YouTube https://youtu.be/3HN--
May 5th & 6th, 2023
By: Renee Ewart
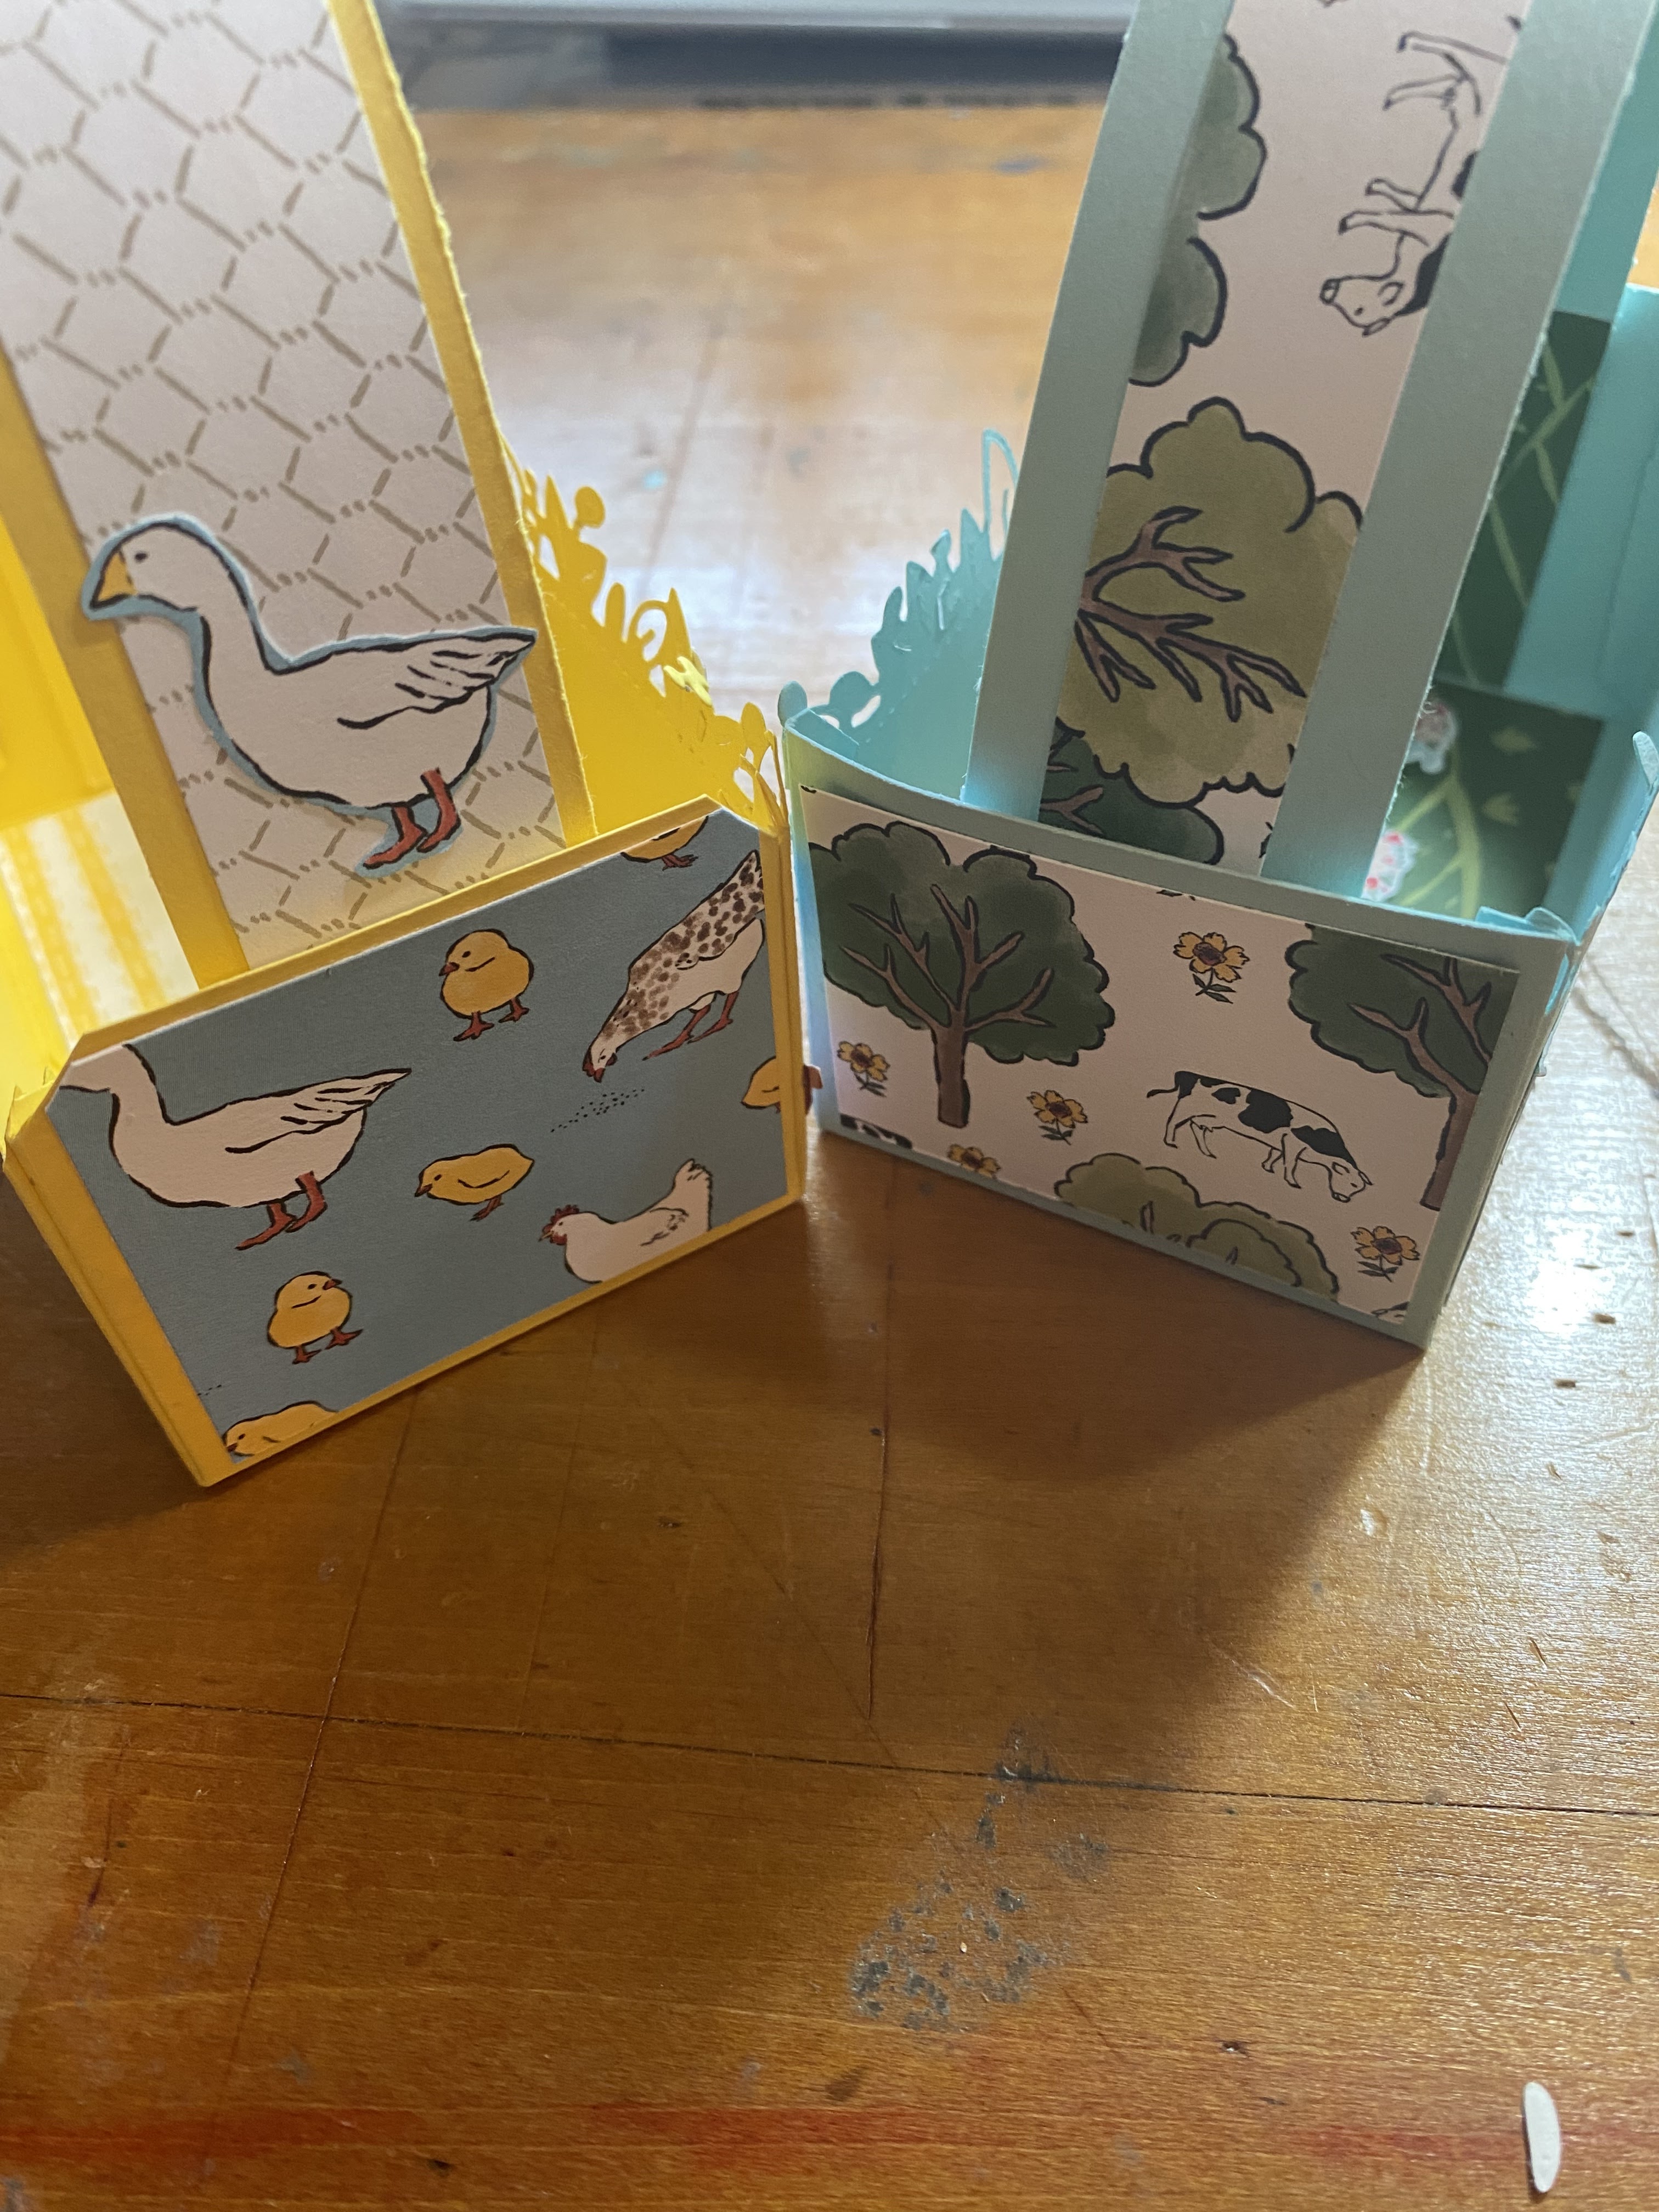
Diorama Card
Colored Base Card (CSB) 7 ¼ by 5½. White cardstock (CSW) 7 ¼ by 5 ½. Designer Paper (DSP) 4 by 5 ¼. Complimentary Color cardstock for die cut pieces that represent your image, no larger than 3 ½ (across) by 2 (high). Label of light color or white cardstock no bigger than 1 ¼ by 2.
Scoring of CSB: Both 7 ¼ and by 5 ½ pieces are scored on the long side, each end, at ¾ and 1 ½ inches.
To assemble: Stamp the front of your colored cardstock. Now fold score lines of the colored cardstock, making sure the front of the card is facing you. The 1 ½ score line creates a mountain fold and the ¾ inch score line creates a valley fold. White Cardstock will be folded in the same manner making sure the back of the card, not the inside, is facing you. Using a die, cut out the center window with an oval, circular or any shape you like. Be sure that the die is not larger than 2 ½ by 4. If there is any stamping, you should stamp your sentiment on the label and also on the back white card.
Gluing: Glue your designer paper to the inside of your white cardstock, make sure you are gluing it to the side that is concave. Now glue your ¾ inch ends together. Glue one side at a time and flatten the two pieces for easy gluing. Now you are ready to decorate your front. Simply glue pieces to the edges and/or to the top and bottom.
List of tools: A stamping Bundle, cardstock, designer paper, ink pads, snips, adhesives and cutting and scoring tool. You are ready to assemble. If you need help, you may contact me through my Facebook page: https://www.facebook.com/Renees-Paper-Crafts-
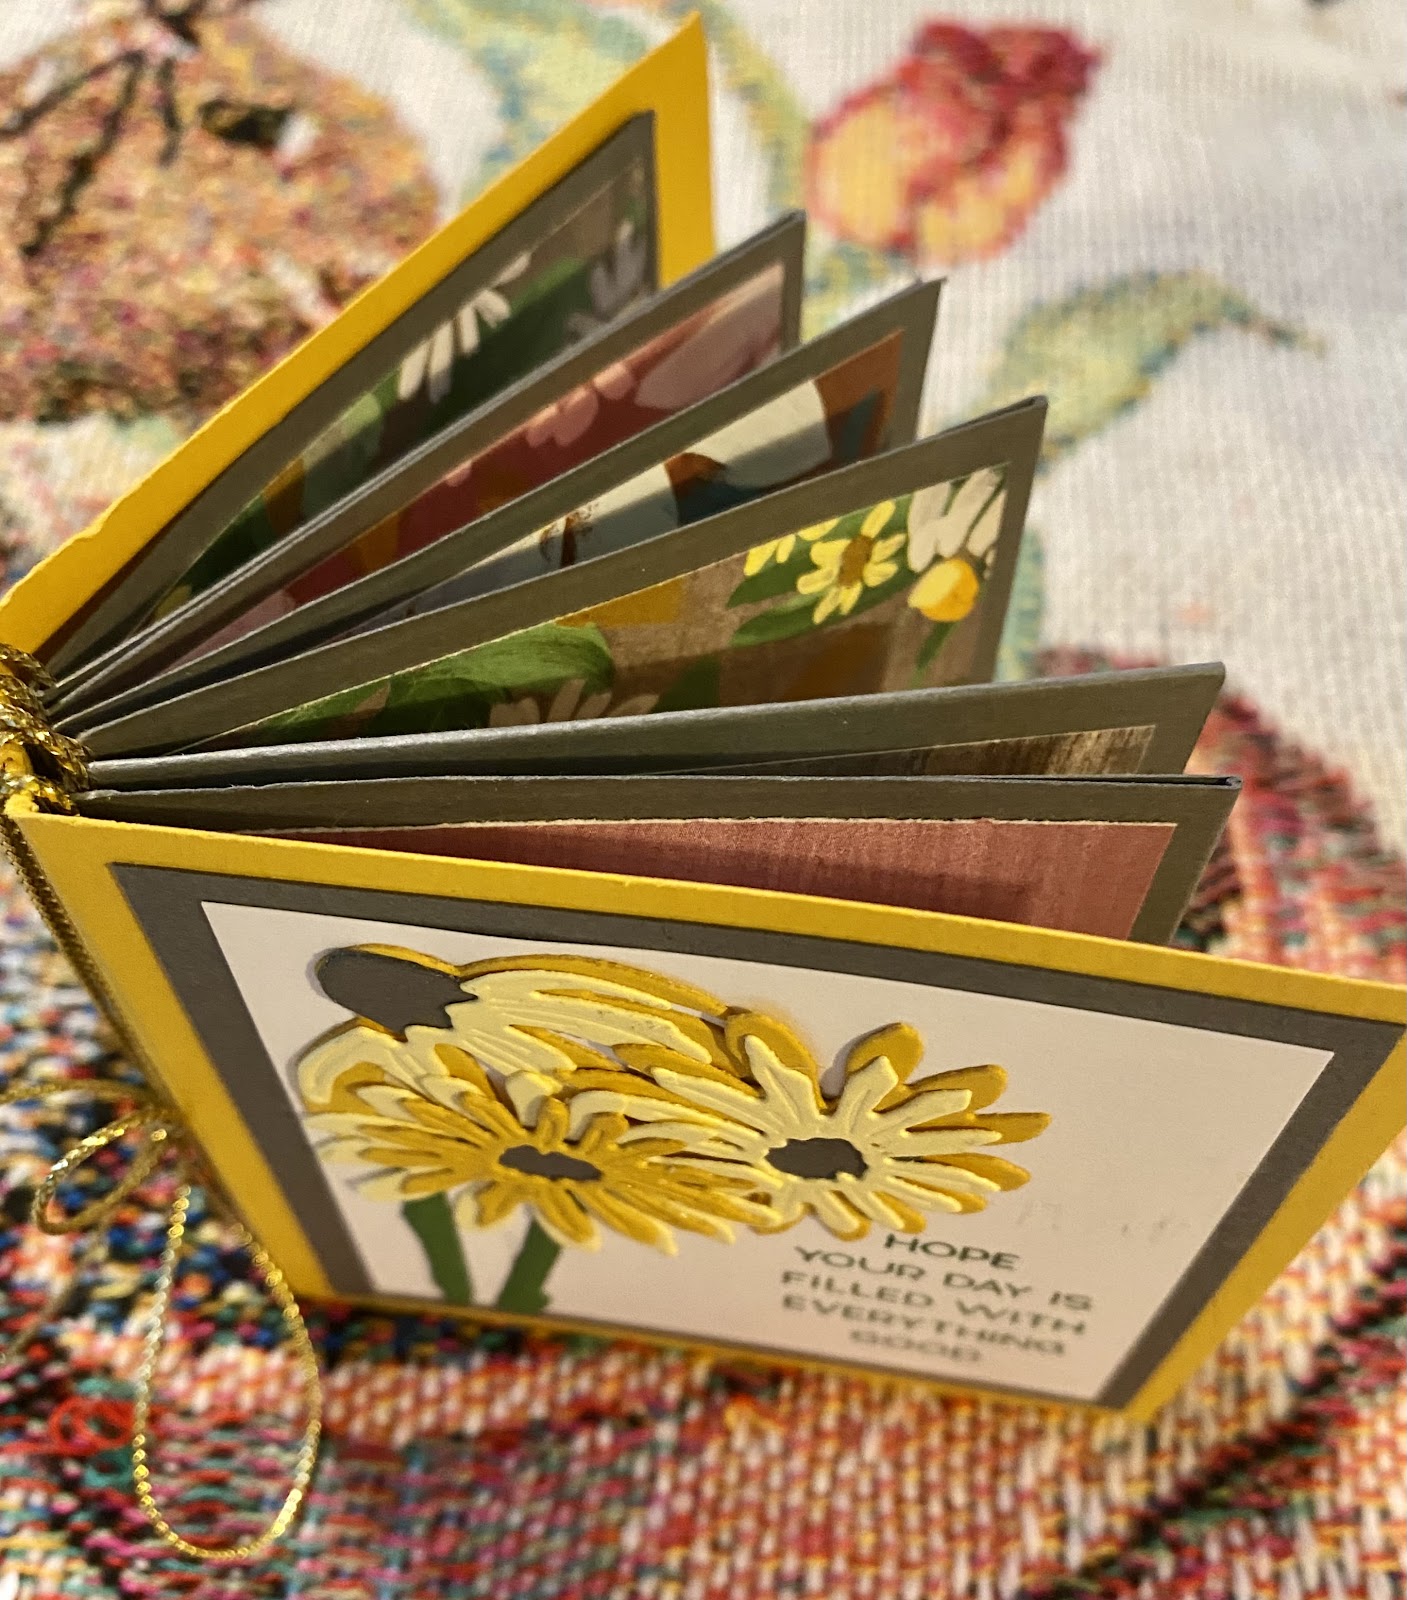
Card base can be any color: 8 ¼ by 11 score every 2 ¾ of an inch both sides. Long side 2 ¾ , 5 ½ and 8 ¼. Short side 2 ¾ and 5 ½. Designer paper squares are 2 ½ by 2 ½ . Anywhere from 7 to 14 depending if you want one side or both sides covered with dsp. Book cover 7 by 3 score long side at 3 ¾ and 3 ¼. Reinforce your binding with ¼ by 3 place strip on the outside and inside of the binding. You will wrap book with twine to the binding. To do this simply wrap each page around with the twine and at the end tie a bow. I.E. wrap first page to 2nd page, page 2 & 3,3 & 4,4 & 5 etc… You are ready to design your book. Good luck and have fun!
Steps: So you will be cutting up from the bottom and the top of the short side. Identify what is the top and bottom of your short side. Cut from the bottom 1st left square all the way through 3 of the 4 squares. Now turn your sheet so the top is now your bottom and cut from the left as before. Your cuts should be opposite from each other. It does not matter now what is top or bottom- You will fold accordion style the entire piece. Be careful to be as exact as possible when folding, use a bone folder to keep tight and straight. Number your accordion and glue together the following glue pages 2 and 3 , 4 & 5, 6 & 7, 8 & 9 and 10 & 11.
.
List of tools: A stamping Bundle, cardstock, designer paper, ink pads, snips, adhesives and cutting and scoring tools. You are ready to assemble. If you need help, you may contact me through my Facebook page: https://www.facebook.com/Renees-Paper-Crafts-

Card base can be any color : 11 by 4 ¼ scored on long side at 5 ½ ,4 ½ and 2 ¼
Steps:
I glue down the 4 by 5 ½ dsp piece to the back of the 1 ¼ inch strip at front of the card. I then place the ½ inch strips at right edge of inside card and the other up against the right edge of 1 ¼ inch front piece of card. Then I stamp all my pieces . You will glue the dsp 3 by 41/4 piece with the stamped image piece that is the 2 ¾ by 4. Now glue to center front of card and add embellishments.
List of tools:
A stamping Bundle, cardstock, designer paper, ink pads, snips, adhesives and cutting and scoring tool. *You are ready to assemble : if you need help you may contact me through my Facebook page: https://www.facebook.com/Renees-Paper-Crafts-
Card base can be any color : 8 ½ by 5 ½ scored on long side at 4 ¼ and front of card cut at 3 inches leaving 1 ¼ behind - cardstock left behind will be used for front of card and label : if cardstock is white cut to 2’¾ by 4 ( if too dark for stamping substitute for white cardstock. White Cardstock scrap: for punch out or die cut image and/ or larger label Embellishments : ribbon and or sequins Designer paper : 3 by 4 ¼ as frame for stamped area. 2 strips at ½ by 5 ½. Inside cardbase: (if not not white )then you will need white cardstock which will be around 3 ½ by 5 ¼.
Steps:
I glue down the 4 by 5 ½ dsp piece to the back of the 1 ¼ inch strip at front of the card. I then place the ½ inch strips at right edge of inside card and the other up against the right edge of 1 ¼ inch front piece of card. Then I stamp all my pieces . You will glue the dsp 3 by 41/4 piece with the stamped image piece that is the 2 ¾ by 4. Now glue to center front of card and add embellishments.
List of tools:
A stamping Bundle, cardstock, designer paper, ink pads, snips, adhesives and cutting and scoring tool. *You are ready to assemble : if you need help you may contact me through my Facebook page: https://www.facebook.com/Renees-Paper-
May 5th & 6th, 2023
By: Renee Ewart
Card base Tower: 4 ¼ by 4 ¼ piece of cardstock scored at 1, 2, 3 and 4. Card base Pinwheels: cut 4 pieces of cardstock 2 ¾ by 4 ¼. Cut one piece of White cardstock at 2 ½ by 4 to lay over one of the pinwheels. Scrap white cardstock for stamping and die cutting or punching images for saying.
Designer Paper: 3 (4 by 4) and 1 (1 ½ by 4) – all coordinating. The 3 pieces will be cut 1 ½ inches from the left side to the right, to save the integrity of the image. Place the left edge of the front of the dsp facing you at 1 ½ inches and cut.
Designer Paper: 3 (4 by 4) and 1 1 ½ by 4 - All coordinating. The 3 pieces will be cut 1 ½ inches from the left to the right to save the integrity of the image. Place left edge of front facing you at 1 ½ inches and cut.
Scored CSB tower: Fold to create a cube and glue ¼ inch flap onto the last piece to create the tower. Now glue each of the pinwheels to the sides moving in one, same direction. For example let’s say you choose to glue the left edge to a face of the tower, continue moving left and gluing the left edge to the next face until all 4 faces have the 2 ¾ by 4 ¼ cardstock glued down. You are now ready to glue your DSP. Choose your arrangement carefully, if you want to maintain your images the ½ inch strip is adhered to the left and its partner to the right. Continue until you reach the end of your matching pieces. Now you will take the white piece that is 2 ½ by 4 and glue it onto the right panel and the extra DSP will be glued on the left. You are ready to adorn as you wish.
List of tools: A stamping Bundle, cardstock, designer paper, ink pads, snips, adhesives and cutting and scoring tool. You are ready to assemble. : If you need help, you may contact me through my Facebook page: https://www.facebook.com/Renees-Paper-Crafts Directions on YouTube will be coming in the Nextel


Annual catalog only November 15-18 ONLY.
10% off all PUNCHES
15% off all STAMPS
20% off all DIES, EMBOSSING FOLDERS and "non-specialty" Designer Series Paper see rest very important.
Use https://reneeewart.stampinup.net/ to shop
NOTE: If there are bundles you want, order the stamps and dies/punches as separate items to get these discounts which are better than the bundle savings!
In this video https://youtu.be/Li2-vOi7d7M you will see how the Christmas Scottie, the celebrate with tags and cup of tea work so well with sweet candy cane


The card is embossed with the winter time 3D smaller embossing folder that is made for the mini cut and emboss machine. Worked beautifully and any of these minis could be used. I added the white craft stampin ink on the folder with a dauber. Interested in stampin up paper pumpkins you can order here https://www.paperpumpkin.com/subscribe?demoid=2223448 If they ask for demonstrator look for me Renate (Renee) Ewart
Here are two cards that were made from the Santa Express designer series paper the celebrate with tags bundle and the Christmas Scottie stamp set. These are slider tags that were made fairly easily
Materials - A standard card base 2 tags of the tab kind - you will use only 1 1/2 . The slider is made from 1/2 of the one tag The other half with the tabs created the second photo card. You will need two 4 by 51/4 pieces of dsp cut in the diagonal one piece cut top left to bottom right and other cut top right to bottom left of same side. Easier if one side has no direction you will need a piece of white cardstock that is 2 by 3 1/8 - inside peekaboo section with Merry Christmas and snow flakes from the Christmas Scottie stamp set . Check out the video for more details https://fb.watch/grWgnzy38c/


This is the first card I developed. The tree screemed to me Halloween. I used the highly used and enjoyed tear back peekaboo style of card. I simply used the white craft ink pad.


Materials used were Splendid thoughts bundle ; basic white cardstock & black cardstock ; Vellum layering designs ; Deckled Rectangular dies 4 th from the smallest ; and finally our Brick and Mortar 3D embossing folder. See below for dimensions. Then below that you will find the blog hop participants. Don't forget to go to the other sites in order as not to miss anyone.


This is #7 of 10 weeks of fall ! So here I have a flip card design using the framed florets. The first half of video is how to incorporate your label and sentiment into your card without it looking like an add on to the card. Example photo below of what was discussed with many more examples on video. Even with the flip card I make sure the sentiment blends in with the card thru masking the snowflakes. 2nd half of video is the card instructions. The Blue card on the left is completely symmetrical i.e. either side can be the front. If that is what you are going for keep images to the right. The white card is not. I kept sentiment on left so only flowers are front of card. Both work but blue on is better.
Cardstock needed : 5 1/2 x6 3/4 - Will be cut and scored *Long side cuts : start and in at 1 1/4 and cut down to 41/4 - do this to both top and bottom . *Short side cuts : start at 1/4 down and over to 2 3/4 - this cut occurs 4x - top- bottom -left -right **Scoring long side from top to 1 1/4 @2 3/4 and 4 Repeat for bottom


So there are three actual kits that you can use to match up with the spooky treats paper pumpkin. The most recent one is the July 2022 P.P.- then the February 2022 and finally the March 2021 P.P. I decided to make this sweet fancy fold card into a shaker cards using parts from the various paper pumpkins. I did use some designer paper, but you could use cardstoxk instead. The front strip has to be a 6 by 1 1/2 inches long and wide. Using the 2 pieces created by simply cutting the wrap around lid I get the front and back of the shaker card. I need half of a fresh freesia card from one of the older paper pumpkins as the base card. I will also use about a third of the other half to make the shaker inset. A clear plastic bag is needed for the insert with shaker pieces. Once that is done all you need is to start stamping and have fun.
I really enjoyed making these cards I feel the style of this fancy fold is perfect for this designer paper and suite. Here is the video l...


